A friend had messaged me not long ago to tell me that she loved my blog, and how I had it set up. After a little chuckle, I realized that I had not touched this blog in well over a year! When I posted last, L was just picking out what instrument he was going to play his first year of Middle school and here I sit, D just finishing up her 3 weeks band practice with her trombone ready for her first year of Middle school. We sure have packed a lot in this last year.
L did amazing in middle school, he played and excelled at playing the trombone, had many honors classes and made high honor roll, his first year as a Boy Scout, running cross country, being on the Lego Robotics team, learning to play Magic the Gathering, breaking both arms in a freak skiing accident, and now growing taller than me with his voice starting to change.


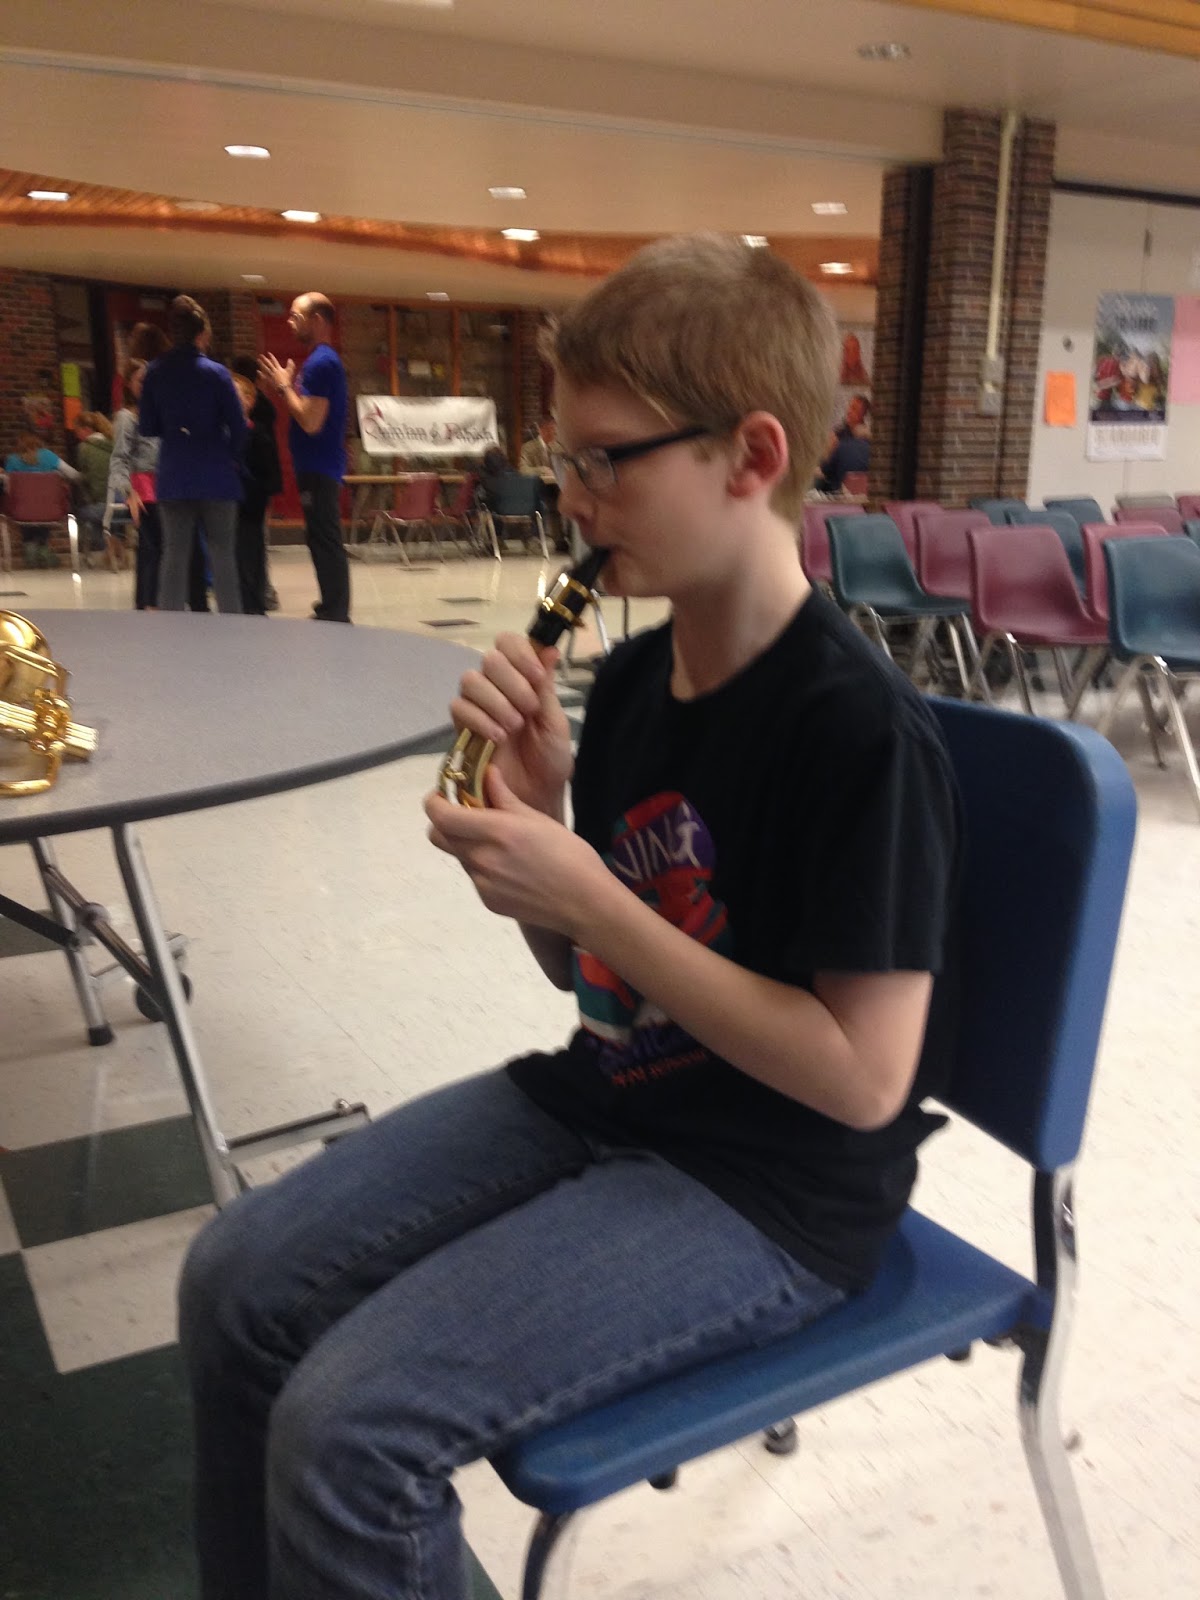
D finished her last year in elementary, finished her 2nd year as a Junior Girl Scout, sang in Circle the State with Song, ran in Running is Elementary, tried her hand at a number of afterschool sports clubs, spent a week away at Girl Scout Horse camp, and started to learn to play the saxophone. She is really looking forward to the start of middle school next week, especially the library.


We bought a house! That was pretty much the biggest thing over the last year. Seated on just under 2 acres of mostly wooded land, we found a 1963 3 bedroom home. Each kid finally for the first time in their lives has their own room. We also rescued 2 stray female kittens, and brought home and raised 10 chickens, although we are now down to 8 and still awaiting eggs. In Jan we took a family vacation to Orlando, the first time all 4 of us flew together, and spent a long weekend in the Harry Potter section of Universal Studios. We have all gained new friends, and lost some of the old sadly, and have overall been loving life to the fullest. I hope to try to maintain the blog a bit more, but with extra time at a minimum I'm just not sure how often that will occur. And as a funny side note: This was my 10 year anniversary of this blog! Thanks for reading!